Once you know how a cast saw works without cutting you, you may want to see what the process actually looks like.
Since we have been there and done that, we have these 11 step-by-step pictures taken while getting a fiberglass cast removed.
Cast away: Step-by-step cast removal photos
After an injury to the left ankle broke the fibula in two places (a lateral malleolus fracture), a hard cast was required to help the bone heal. Splints were used for the first 2.5 weeks, then the fiberglass cast being removed below was in place for four weeks.
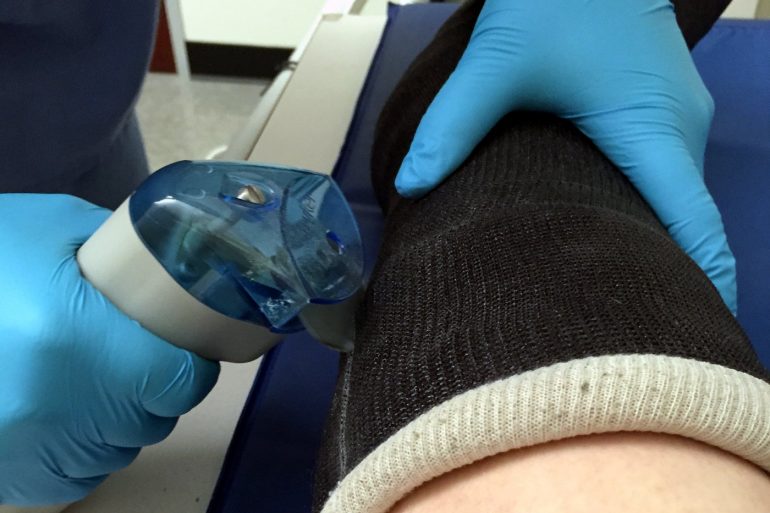
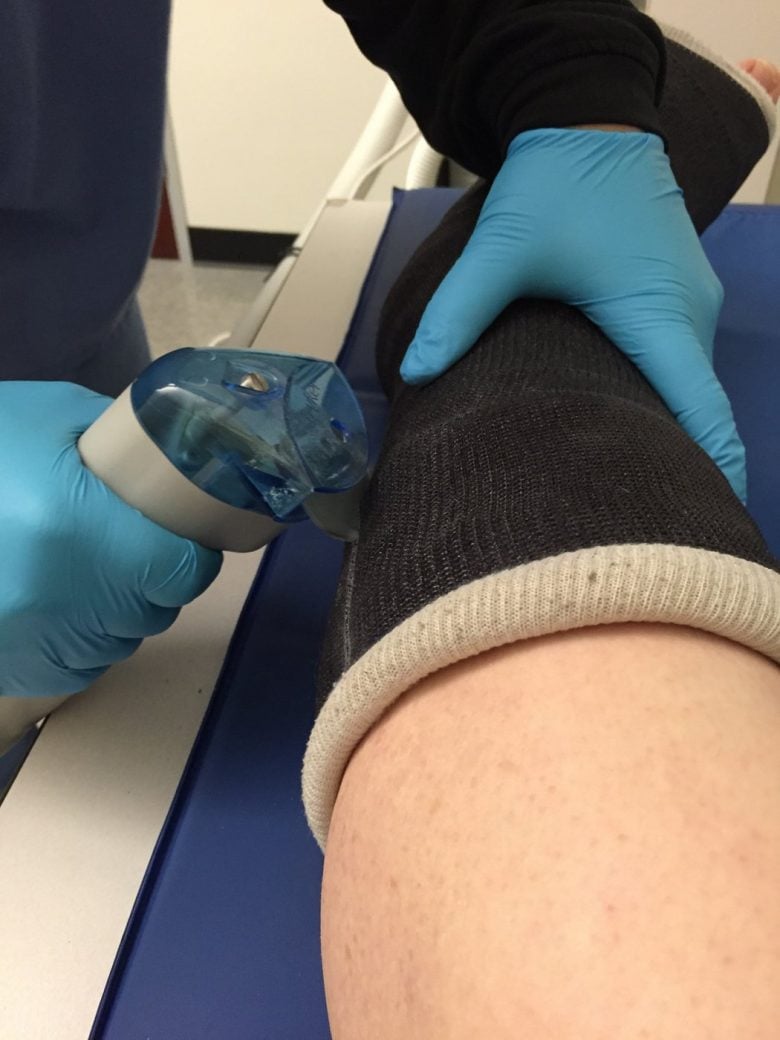
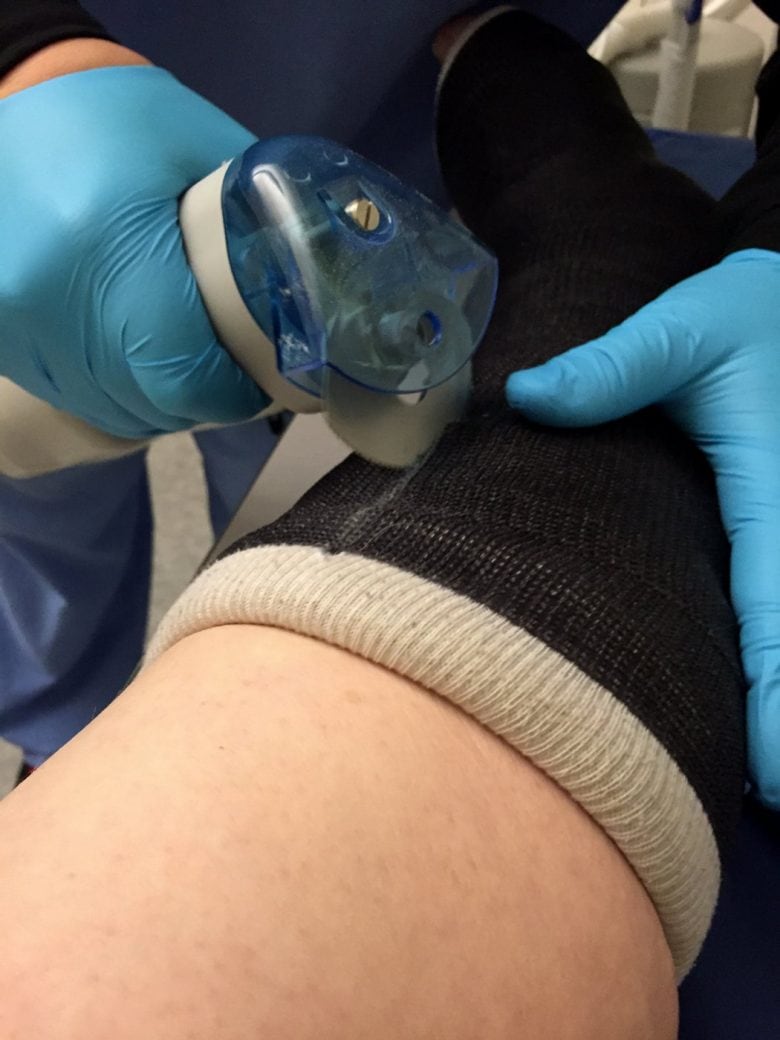
Step 1: Beginning to cut with a cast saw, starting on the outer side at the top
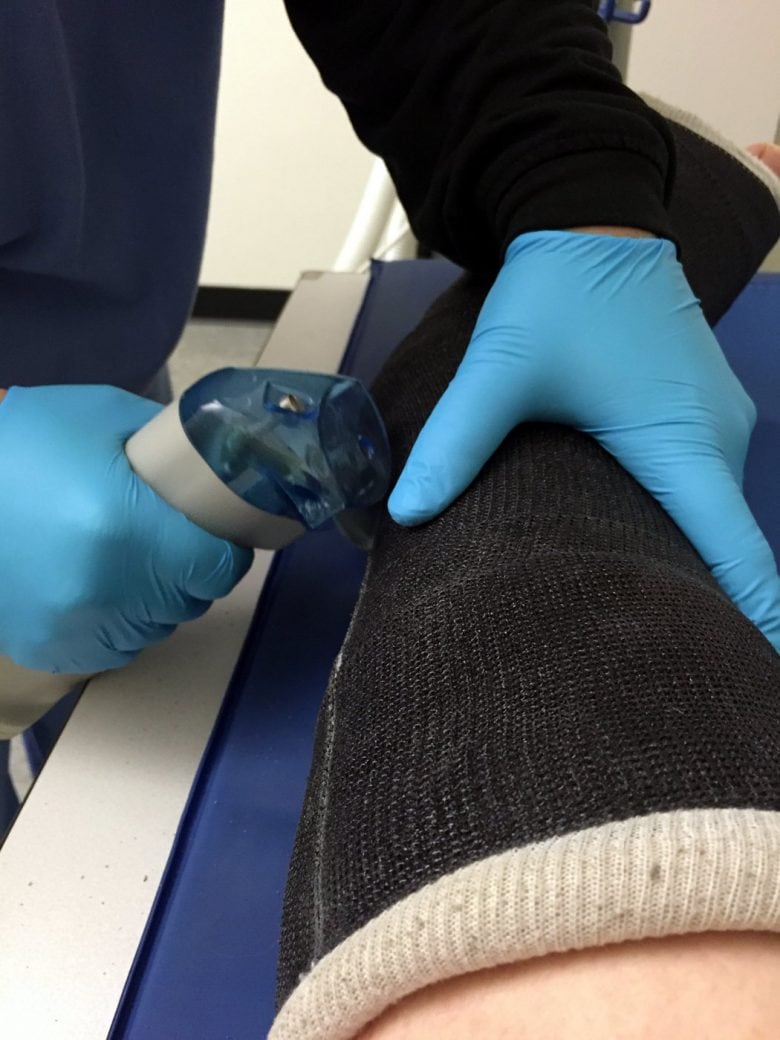
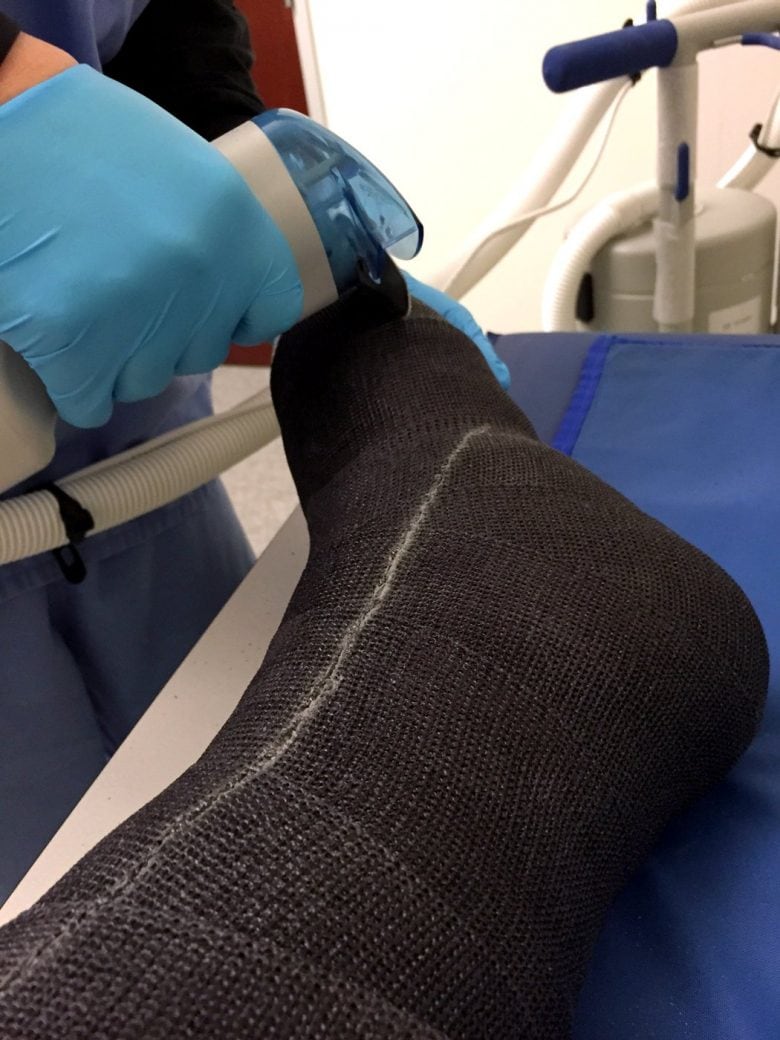
Step 2: Continuing to cut the cast down the back of the calf
Step 3: Moving the cast saw to cut along the outer edge of the foot
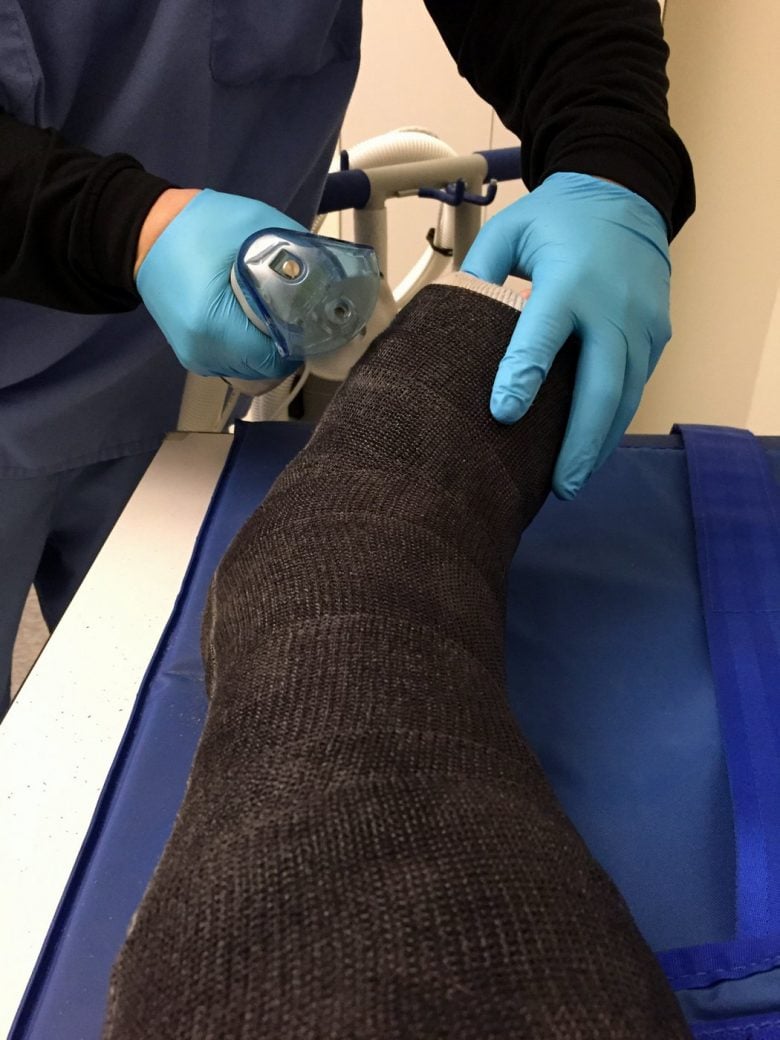
Step 4: Starting the second cut, on the inside of the leg at the top. They were getting some depth on the saw, and some heat was felt
Step 5: After cutting the cast along the inside of the ankle, they began the final cut, starting on the inside of the foot at the toes
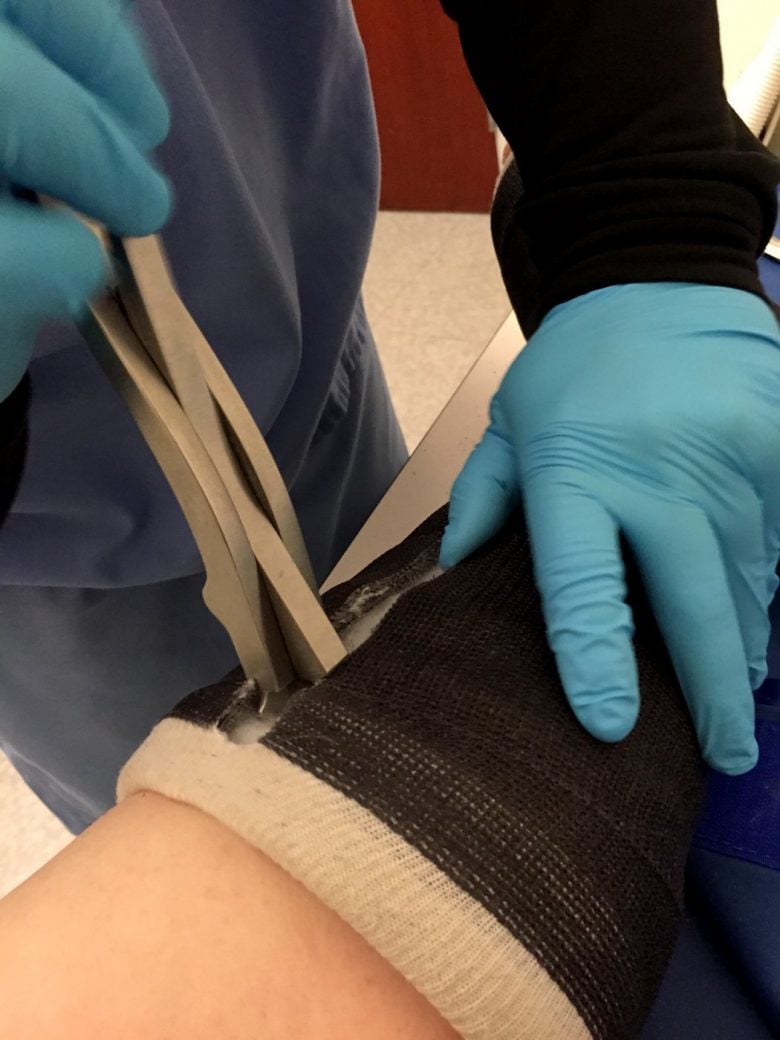
Step 6: Using a cast spreader tool to separate the cast shell for removal
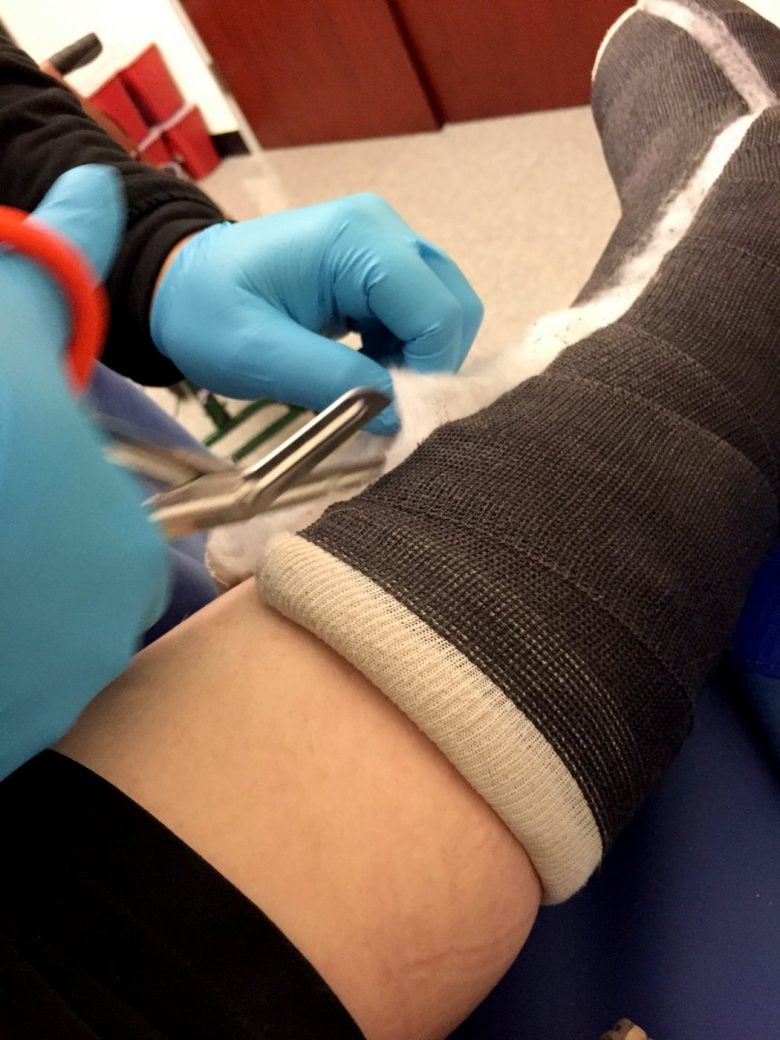
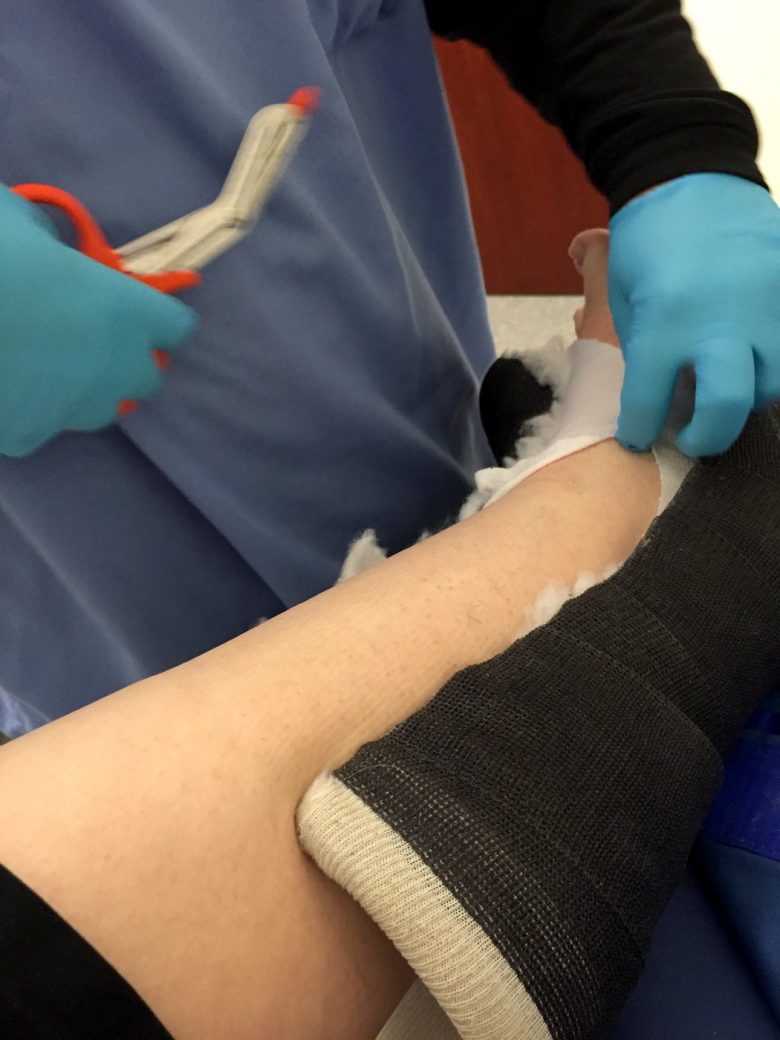
Step 7: Cutting the cast padding and stockinette with bandage scissors
Step 8: Cast shell is open, with the last piece of stockinette to be cut
DON’T MISS: How does a cast saw work without cutting you?
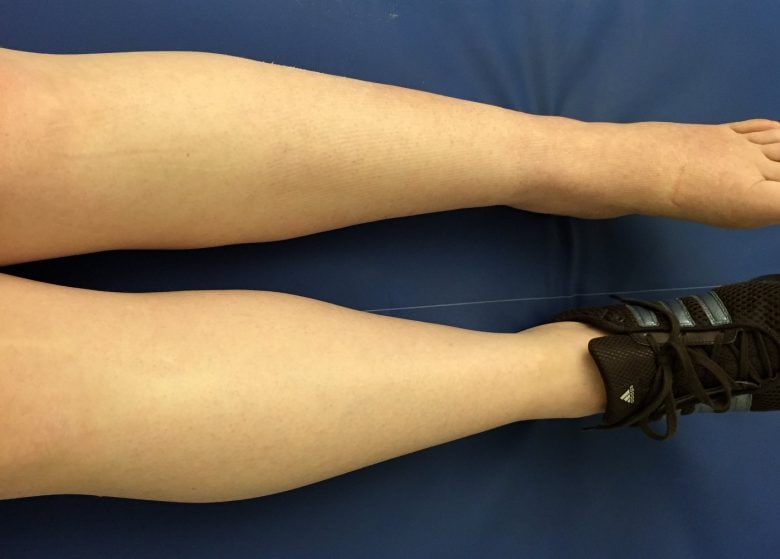
The end result
6-1/2 weeks after injury, and after 2-1/2 weeks in splints, and 4 weeks in a fiberglass cast, the leg with the broken ankle (on the left/bottom) has lost a lot of muscle tone, is more swollen, and there’s a lot of dry skin.

