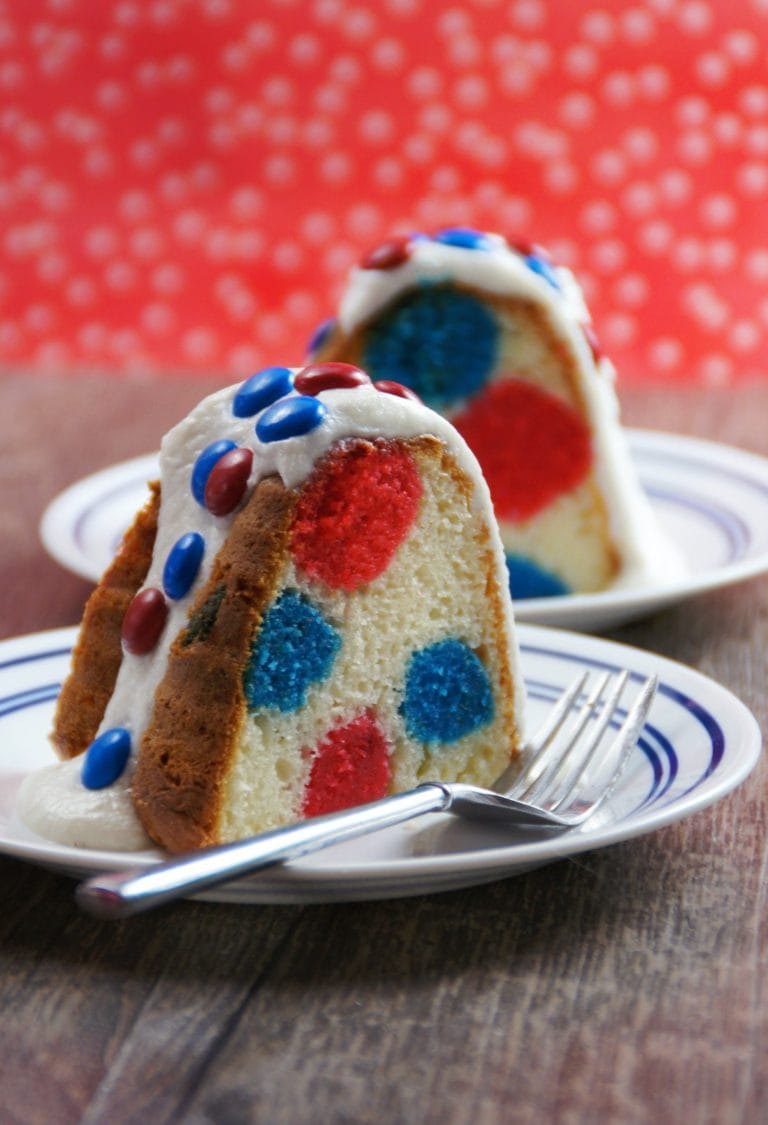
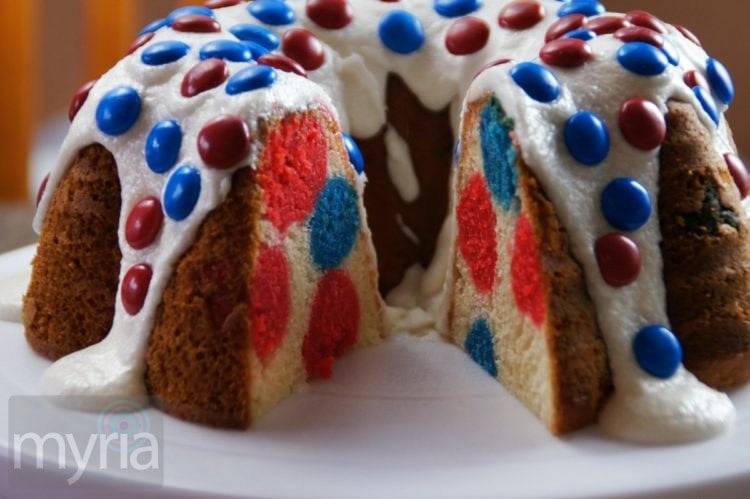
Most people love cake, and even the simplest cakes are usually delicious. But how about making a cake that is has a surprise — brightly-colored polka dots — not only on the outside, but also baked right in?
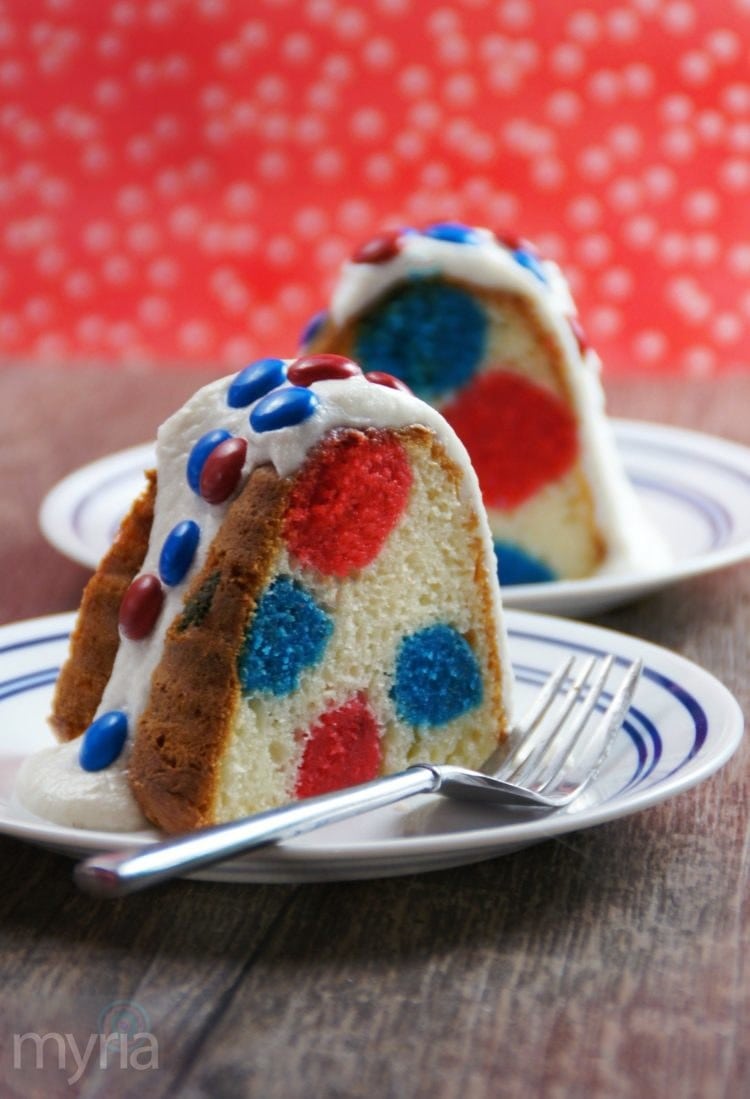
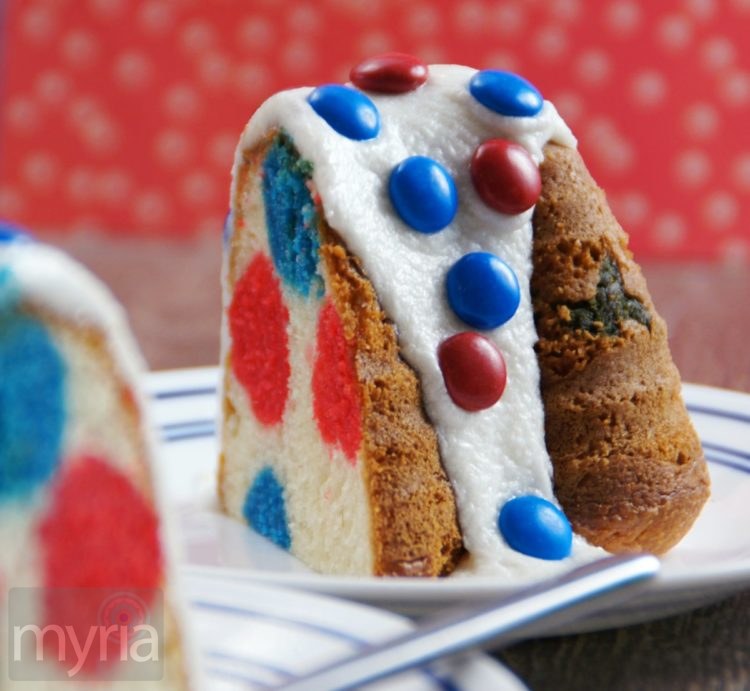
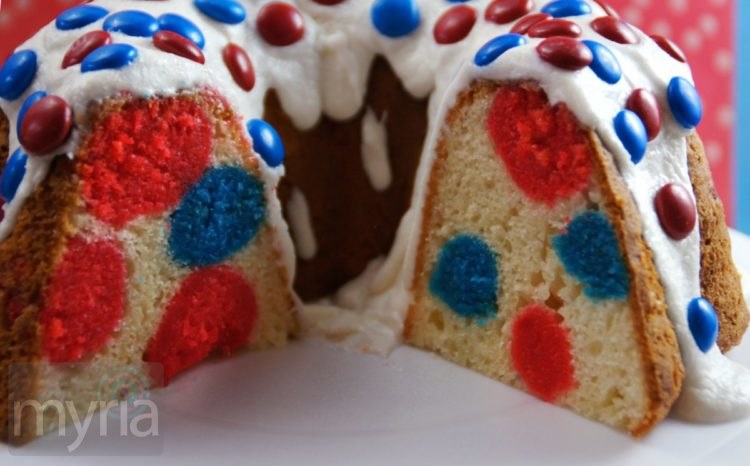
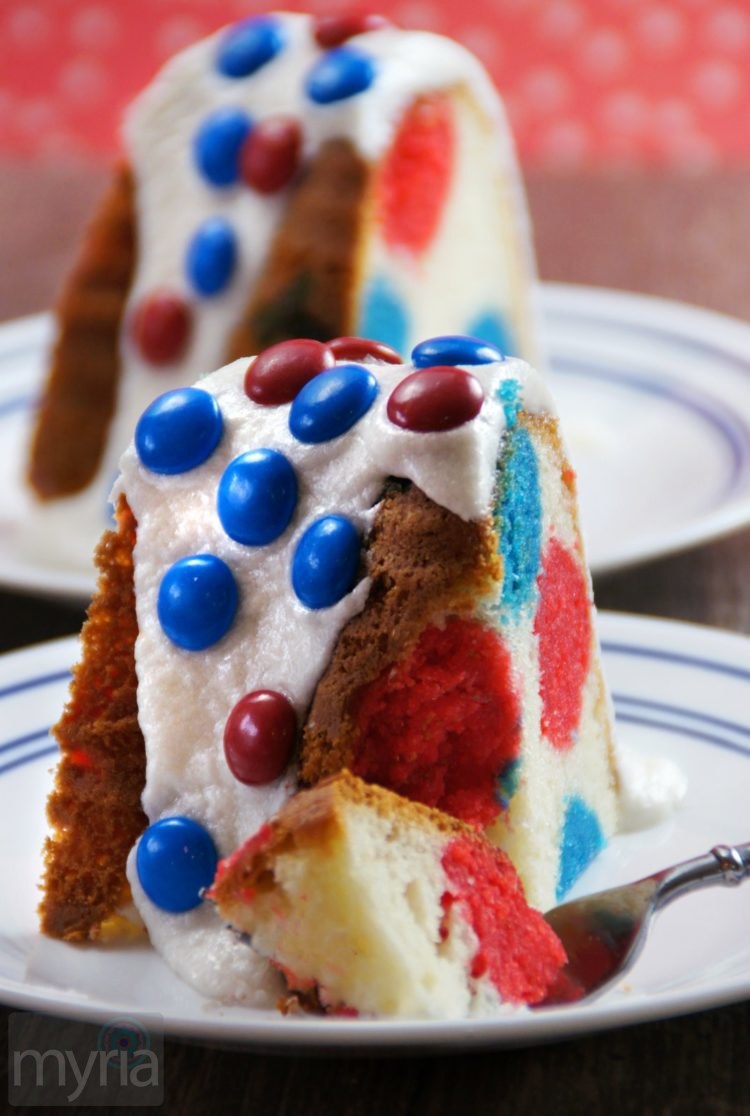
That’s right — when you cut this cake open, you will see that there are big and bold red and blue dots inside as well! People will definitely want to know how you did it. Luckily, it’s pretty easy — just takes a bit of extra time. (And if you’re wondering: The dots in the cake tasted just like the rest of the cake.)
Red and blue polka dots in a white cake
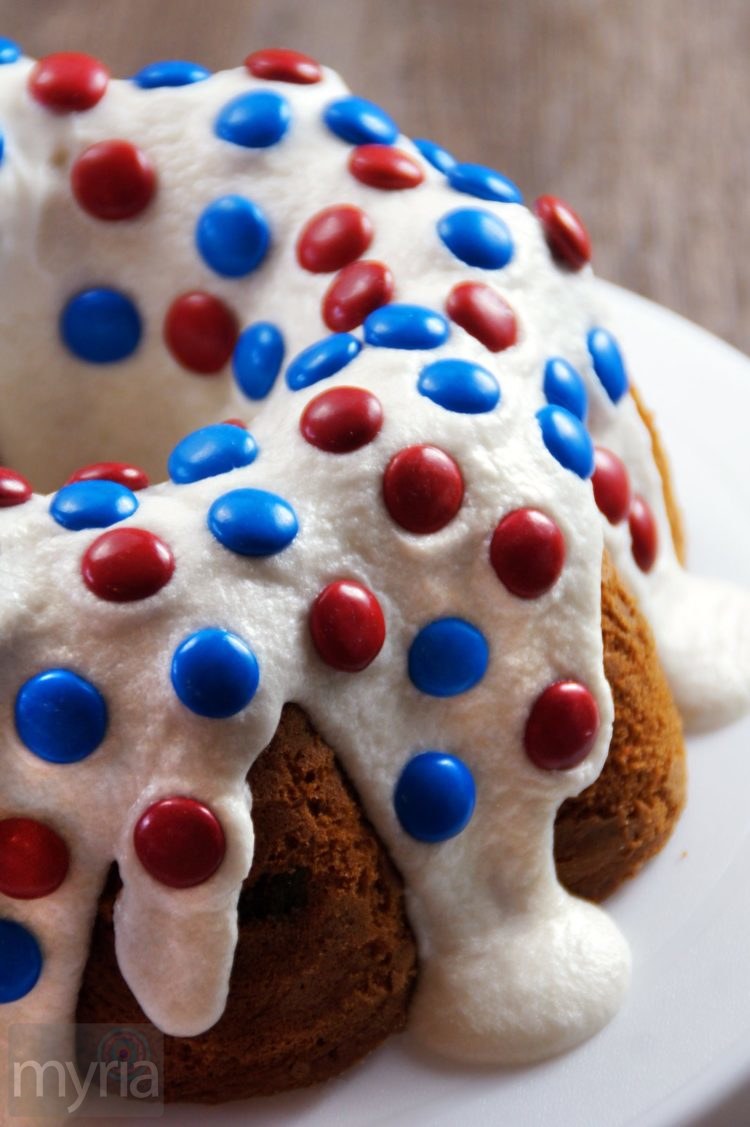
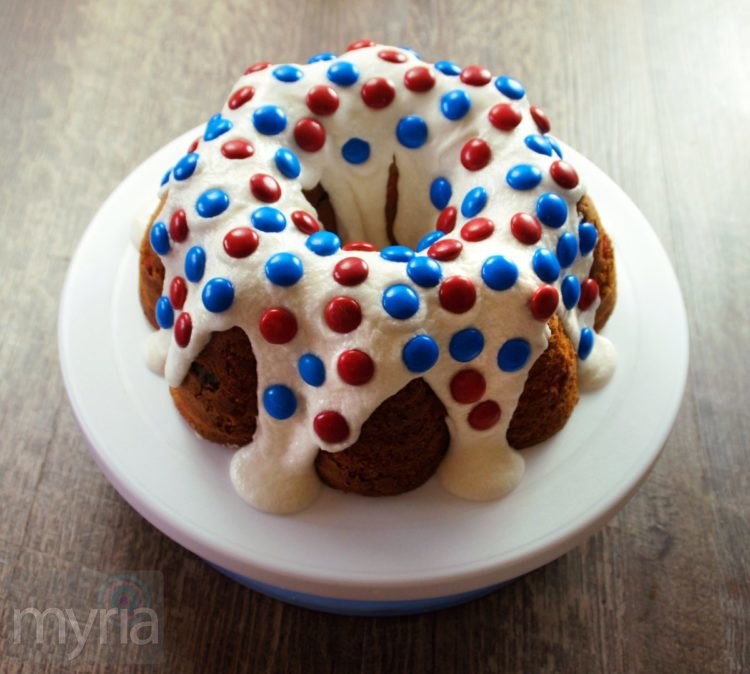
Here’s the super-simple overview: The polka dots are colored balls of cake and frosting, dropped into a bundt cake pan along with white cake batter, then baked. A simple icing was drizzled over the top, then studded with red and blue m&ms candies.
How to make this red, white and blue polka dot cake
You will need
- 2 boxes of white cake mix (or follow your own recipe to make the equivalent)
- 4-6 tablespoons of buttercream frosting for the cake dots (you can also use canned frosting)
- Gel food coloring
- Powdered sugar, cream/milk, butter (optional) and vanilla extract for the glaze
- m&ms or another type of candy to decorate the outside
- 2 regular cake pans (to make colorful cake for the dots) and one bundt pan (for the final cake)
Directions
Start by making batter for your favorite kind of white cake. Before pouring it into a pan, separate the batter into half, and, using gel food dyes, color one batch red and the other batch blue. Pour into prepared pans and bake according to recipe instructions.
When cakes have cooled, follow these instructions for each color — keep the red and blue colors separated.
- Slice off the top layer or any other areas that have browned (they will muddy the colors).
- Scoop out the remaining colored cake into a medium-size bowl.
- Gently separate the cake chunks into crumbs.
- Add just enough frosting (I used buttercream) to help the colored crumbs hold their shape. Try not to compact them too much. If you need to enhance the color, add a little more gel coloring now.
- Shape into balls, roughly 1 inch in diameter.
- Set aside.
Note: This recipe is for a cake with two colors of polka dots — you can change the colors, of course, or make three or four colors of dots. The overall amount of cake you need should stay the same — just make fewer of each color if you’re planning on having them in multiple tones. You could even flavor them differently by using a couple drops of an extract.
Preparing the final cake
Make the batter for a second white cake. Follow preheating, ingredients and mixing instructions. Do not pour the batter into the pan yet. (You will probably have 1 to 1-1/2 cups more batter than you need, which you can bake separately.)
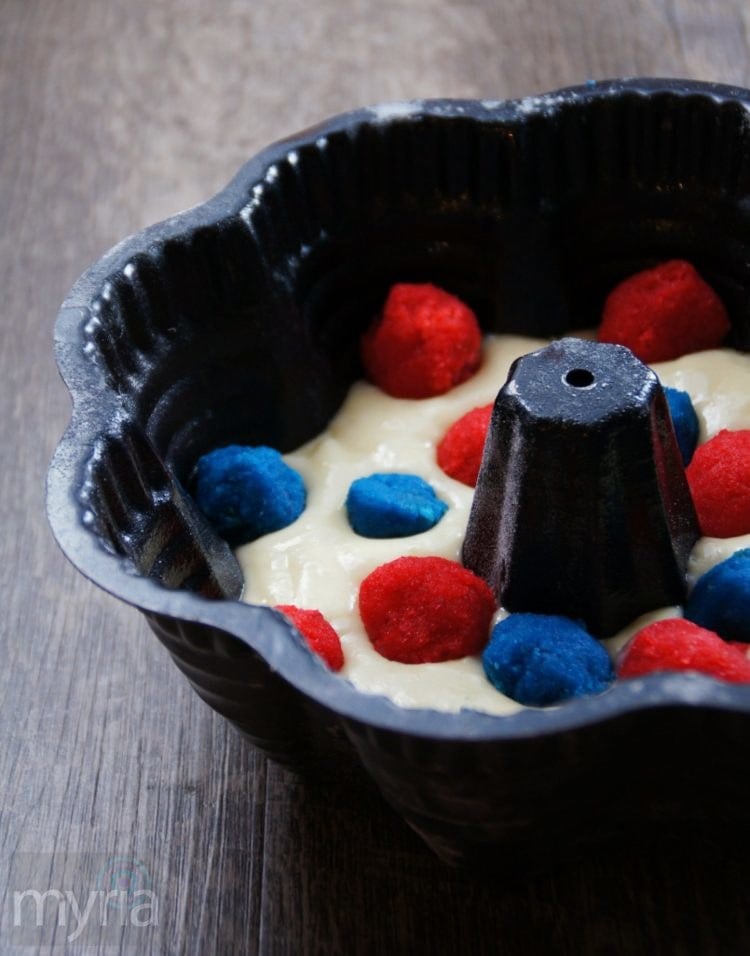
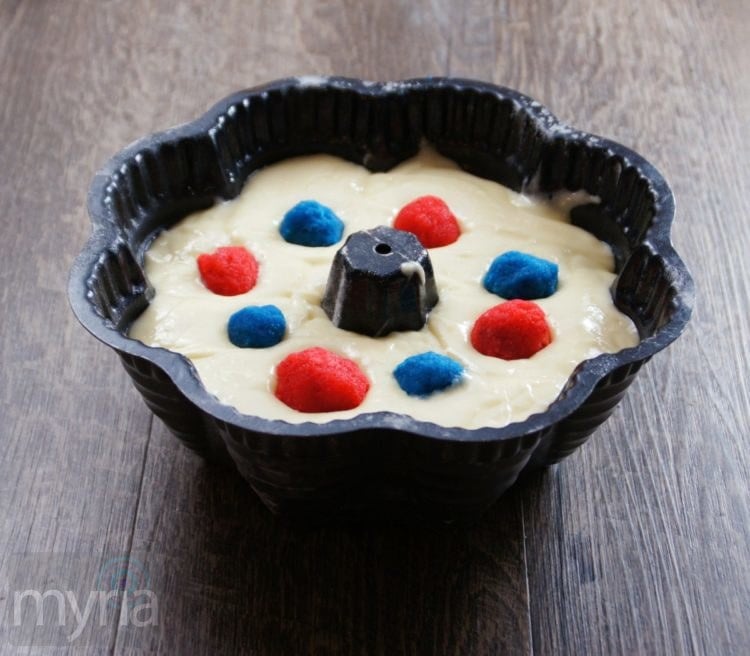
Prepare the bundt pan (I used non-stick spray) and add 1/4 of the batter to the bottom of the pan. Place about 1/3 of the cake dots into the pan, evenly-spaced. Add another portion of batter, then add more cake dots — stagger the placement and colors compared to the earlier layer. Repeat this one more time, then end by pouring on the remainder of the white batter.
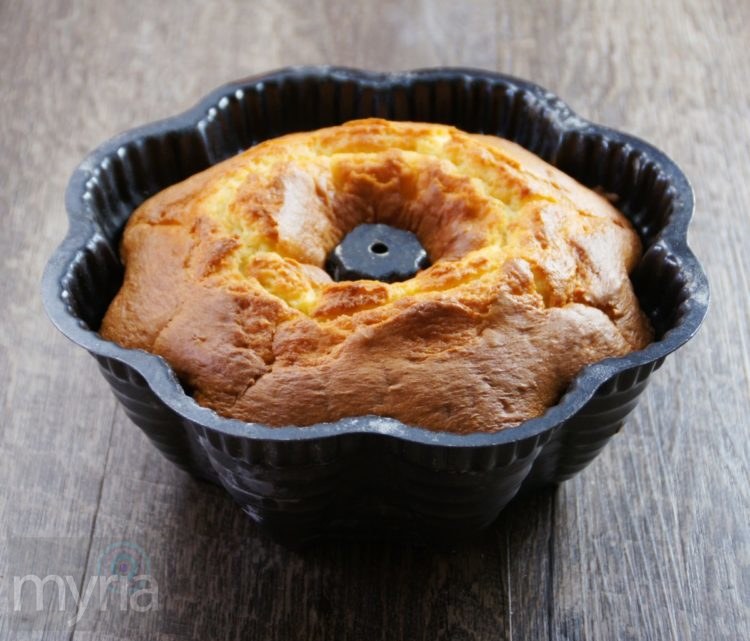
Bake immediately in preheated oven, according to package directions for a Bundt cake. Check for doneness before removing from the oven.
Let the cake cool completely.
Polka dot cake – With frosting and m&ms candies
Decorating the polka dot cake
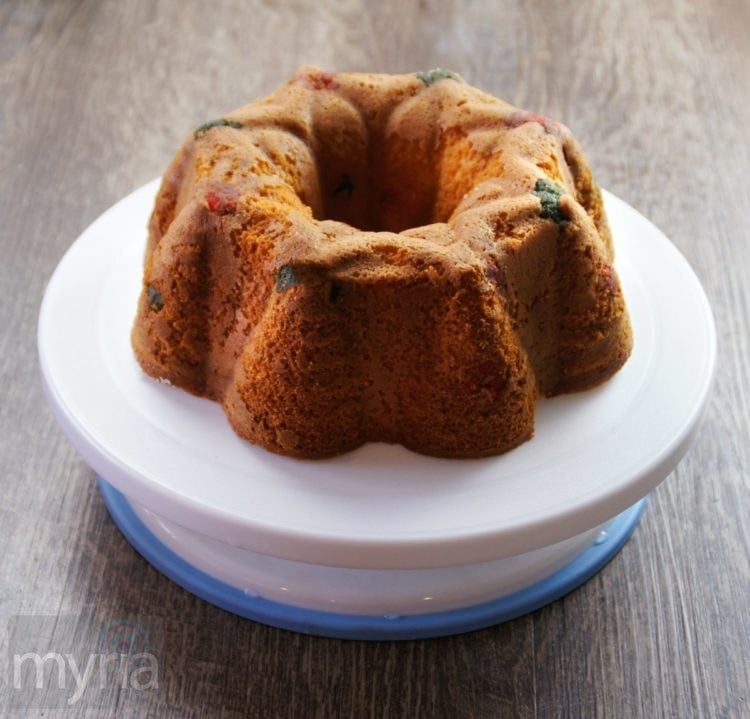
When the cake has cooled, remove the cake from the pan. Carefully and evenly trim off the top part of the cake until you have a flat and stable surface. Place the cake face down on the serving plate or dish. (See photos.)
To make the icing: I used a basic white icing with a tablespoon of softened butter, cream, powdered sugar and vanilla. The consistency I used was about halfway between a spreadable frosting and a syrup. You should be able to drizzle the icing, but still make sure it has enough density to hold its shape (and the candies).
Refrigerate the cake for several hours or overnight before icing. Drizzle on the icing — as much or as little as you like.
Chill the cake again for about 15 minutes before sticking on candies on top. The slightly-firm frosting will hold them better.
Remove somewhere between 60 and 80 red and blue candies from a package of regular m&ms (or use any colors you like). Place the candies all over the outside of the cake, with the m logo facing down.
After placing the chocolate candies on the cake, put the cake back in the refrigerator before serving.
For the cleanest slices, cut the cake when it’s cold, and use a sharp knife heated (run it under hot water, and then thoroughly dry before slicing).
Red white and blue polka dot cake – cake dots to add to the batter
First layer of colored cake dots
Red white and blue dot cake with colored cake balls
Baked red white and blue polka dot cake before cutting off the top
4th of July cake before icing – Flat surface on the bottom for stability
The iced 4th of July cake with red and blue candies on the top
Red, white and blue polka dot cake from front
MORE: Light up the party with a fab firework poke cake!
Side view of slices
Slice of red white and blue polka dot cake
MORE: A fruity patriotic red, white & blue cake
Side view of inside of cake
Take a bite of this festive red, white and blue patriotic cake
MORE: Celebrate with a red, white & blue Independence Day cake
What I learned
The cake was as festive as I hoped, but, next time, I’d try doing some things differently:
- For the cake dots, instead of coloring the batter, I’d like to see how well it worked to make just a single white cake and try putting gel coloring in the frosting to make the colored cake balls.
- I would make the individual cake dots smaller (and make more of them).
- Make sure to have enough ingredients on hand: I ran out of powdered sugar, so had to try grinding up a little bit of granulated sugar to make up for it — thus the icing on top was a little grainier than it ought to be.
- Ice and decorate just before serving: By the second day, the candy color had started to bleed a little into the frosting.

